Quantities Measured From the Drawing, Not Guessed
Ask the AI Assistant an area question — "what is the area of the cladding on the elevations?" — and Doclio does something most AI tools don't: the AI only finds the regions, then the app traces each one against the drawing's actual linework and measures it at the drawing scale. The figures you get are geometry, not a language model's guess.
Before You Start — Two Things That Matter
- Set the drawing scale. Open the drawing, click SCALE in the toolbar and either calibrate against a known dimension or use Auto-detect scale, which reads the dimension callouts and printed scale note off the page and cross-checks them. No scale = no measured quantities.
- Vector PDFs work best. Tracing needs the drawing's linework, which CAD-exported PDFs contain. Scanned or photographed drawings have no vector data — the assistant can still find and estimate, but nothing can be traced or measured. (Re-export from CAD if you can.)
The AI Takeoff Workflow
- Ask. In the AI Assistant, ask an area question about a drawing: "what is the total cladding area on A101?", "area of each room on the floor plan", "how much paving?".
- Watch the regions appear. The assistant identifies each surface, and the app immediately traces them on the drawing — you'll see the highlighted regions land as a DRAFT overlay, with openings (windows, doors) subtracted automatically on hatched surfaces. When one identified zone actually contains several distinct surfaces (the two wall planes of a split elevation, two bathrooms sharing a tile pattern), the app splits it into one region per surface — "South (1 of 2)", "South (2 of 2)" — each measured on its own.
- Review in the DRAFT TAKEOFF panel. A panel on the right lists the draft like a saved group: one row per region with its measured area, and a running total. The reply in the chat shows the same measured figures; the AI's own working stays available behind the WORKINGS pill if you want to read its reasoning.
- Fine-tune if needed. Click a region on the drawing (or its row in the panel) to open it in the FLOOD editor: drag its corner nodes, add or remove cutouts, use the SMOOTHING slider to clean up stepped edges, then press UPDATE FINDING. The totals update instantly, and the other regions stay visible in purple while you work on one.
- Save. Press SAVE GROUP — on the panel, the flood editor, or in the chat — and the whole takeoff saves as one grouped measurement with per-region items and a group total. It appears in your takeoff reports from then on.
Volumes — Give It a Depth
A volume is a measured area multiplied by a known depth, so state the depth in your question: "what is the volume of fill under the slab if the depth is 300mm?". The app traces and measures the slab area, then finishes the arithmetic with your stated depth: 45.20 m² × 0.3 m = 13.56 m³. Works with depths phrased as "300mm", "0.3m deep", "100mm thick", and so on. A volume question with no depth stated (and none printed on the drawing) can only be an estimate — the assistant will say what depth it assumed.
The FLOOD Tool — Manual Takeoffs, Zero Credits
Everything the AI takeoff does with tracing is also available by hand, without using any AI credits. Open a drawing, pick TAKEOFF > FLOOD, and click inside any room or shaded surface:
- AUTO detects whether you clicked an open space (a room) or a hatched surface (cladding, render, paving) and traces it.
- CUTOUT arms click-to-subtract — click each window, door or void inside the region to net it off (shown red-hatched).
- OPEN and HATCH force the trace mode when AUTO reads a surface the wrong way.
- GAP SEAL closes door openings and hairline gaps so a room fill doesn't leak; SMOOTHING reduces boundary nodes on textured surfaces and stepped slopes.
- + ADD MORE keeps flooding regions into one grouped takeoff (all roof planes as "Roof", every room as "Flooring", and so on). Groups can be extended later from the pin's panel.
The MATCH tool is the counting equivalent: click one symbol (a downlight, a GPO) and it finds and counts every matching instance on the page from the vector geometry — also free.
Downloading the Takeoff Report
Choose TAKEOFF > DOWNLOAD in the drawing toolbar to export a CSV takeoff report without leaving the viewer. Pick the scope — THIS DRAWING or ALL DRAWINGS in the project — and tick what to include: Takeoffs, AI Findings, and any other note types that carry measurements. The CSV has one row per measured item plus a TOTAL row per group, ready for SUMIF-style estimating in Excel or Sheets. The same export lives in the Actions tab for cross-project registers.
What It's Great At
These are the cases where the traced figures are the real quantity — verify the scale once, then rely on them.
- Room and floor areas on vector plans. Ask: "what is the area of each room on the floor plan?" Expect: one region per room, boundaries hugging the walls, each row measured — typically within about 1% of the dimensioned areas (our test patio measures 25.89 m² against 26.09 m² from the printed dimensions). Pro: instant, exact, per-room breakdown. Con: texture fills (tile patterns, floor symbols) can add boundary nodes — one drag of SMOOTHING cleans them up.
- Cladding and hatched surfaces on elevations. Ask: "total cladding area on the elevations". Expect: one region per elevation face with windows and doors subtracted automatically (shown red-hatched), gross and net figures both visible. Pro: the openings deduction is the part humans skip when in a hurry. Con: the trace follows what's drawn — if the drawing shows the pattern running behind a downpipe, it counts it.
- Adjacent zones with the same pattern. Ask: "tiled floor area in the bathrooms". Expect: two bathrooms = two separate regions ("Tiled floor (1 of 2)", "(2 of 2)"), each measured, saved as one group. The same splitting handles the two wall planes of a split elevation. Pro: no manual re-tracing when the AI lumps neighbours together. Con: splitting needs the drawing scale set.
- Counting repeated symbols. Ask: "how many downlights on the lighting plan?" — or click one with the MATCH tool (free). Expect: every instance of the symbol family found from the vector geometry and pinned. Pro: exact centres, tolerant of overlapping text. Con: review the pins — a legend symbol or a similar-looking fitting can sneak in.
- Volumes with a stated depth. Ask: "volume of fill under the slab at 300mm depth". Expect: the slab region traced and measured, then the arithmetic finished for you: "45.20 m² × 0.3 m = 13.56 m³". Pro: the only estimated ingredient is gone — you supplied the depth. Con: depth phrasing is metric (mm / cm / m) for now.
What It's OK At — Verify Before Relying
- Whole-wall areas that mix hatched and unhatched surfaces. Ask: "total external wall area" where a wall has two hatched planes and an entry section drawn without a hatch (a different cladding type, or a recess). Expect: one region per surface — the two hatched planes plus the unhatched zone, each measured separately and flagged NO HATCH in the draft panel. An unhatched-but-enclosed zone is usually real surface (often just a different material), so it's included in the total by default — the flag is there because it's occasionally a void, and one click on the row's × removes it if it shouldn't count. Honest note: the app reads geometry, not materials — when a drawing doesn't hatch a surface, deciding whether it belongs in THIS takeoff is your call, and the panel makes that a one-click decision either way.
- Multi-material walls ("total wall area" across weatherboard + render). Expect: one labelled region per material zone. The split depends on the AI recognising the material boundaries — check the labels match the drawing before saving; adjust any region that landed across a boundary.
- Sheets with detail views at other scales. The trace is right, but the maths uses the sheet's main scale unless you've set a sub-scale region (SCALE > Set sub scale region) over the detail. Set it first, then ask.
- Curved boundaries. Areas measure correctly, but arcs trace as fine polylines — expect more nodes than a hand-drawn arc if you open the editor.
What It's Not Good At (Yet)
- Lengths and perimeters (skirting, cornice, architrave, wall runs). Ask: "how many metres of skirting in the living room?" Expect: a genuinely useful answer — but it's the AI reading the dimension callouts and adding them up, not a trace. There is no automatic length tracer yet. What to do: treat it as a starting point and verify with the MEASURE tool or the dimension chains. The reply will show its working so you can check each number.
- Volumes with no depth anywhere. "Volume of the water tank" has nothing to multiply by — the AI states the depth it assumed. Supply the depth (or point at the section that shows it) to make it measured.
- Scanned or photographed drawings. No vector linework means nothing can be traced or measured — you get an AI visual estimate, clearly labelled as such. Re-export from CAD if you possibly can; it upgrades every number from a guess to a measurement.
- Drawings without a scale. Regions still trace and display, but no real-world quantities can be computed. Set the scale (or Auto-detect) and re-run — it takes seconds.
One rule underneath all of it: the scale is load-bearing. A wrong scale scales every measurement with it. Auto-detect cross-checks dimension callouts against the printed scale note, but a quick MEASURE-tool check of one known dimension is cheap insurance before a big takeoff.
What It Costs
The AI vision pass that finds the regions is the only credit spend in the workflow (the same 3-credits-per-page vision rate as other drawing questions). The tracing, measuring, fine-tuning, FLOOD tool, MATCH tool, scale auto-detect, and the takeoff download are all free and run entirely in your browser.
Troubleshooting
- The fill escaped into the rest of the plan — raise GAP SEAL (it closes door openings), or switch to OPEN/HATCH mode explicitly. Every trace can be discarded before it saves.
- The boundary looks jagged on a diagonal — drag SMOOTHING right; it straightens stepped hatch edges without changing the area materially.
- A window/door wasn't subtracted — click it with CUTOUT armed; click a cutout again to restore it.
- "No scale set" next to the area — the region traced fine but can't be converted to real units; set the drawing scale and re-run.
- Nothing traces at all — the drawing is probably a scan (no vector data). The assistant will still give a visual estimate, clearly labelled as such.
Need More Help?
If a trace is clearly wrong on a vector drawing with a verified scale, please submit a support ticket with the drawing and where you clicked — real examples are how the tracer improves.
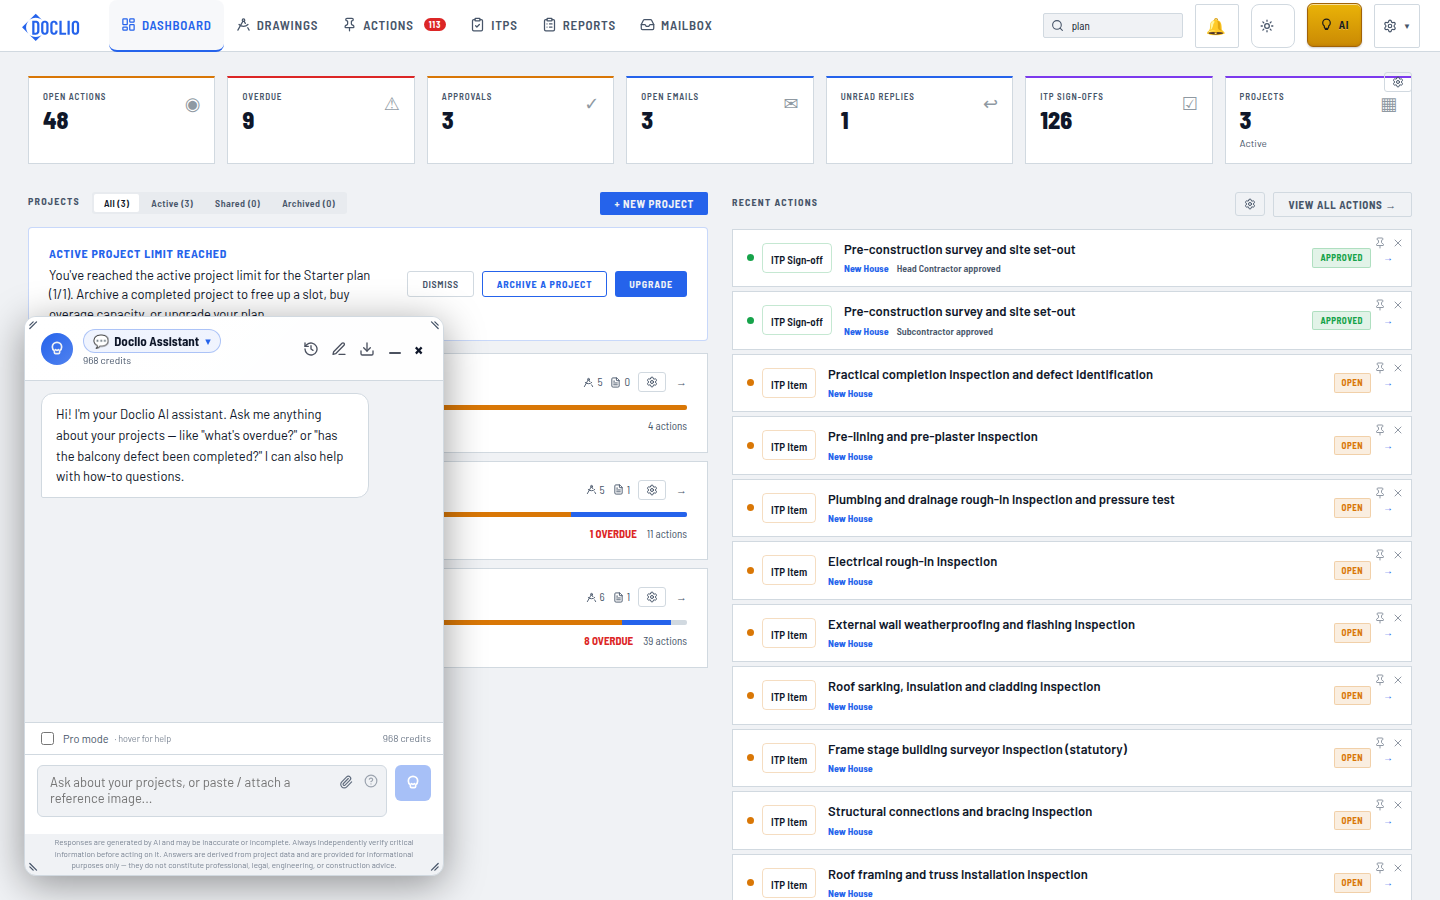
Pro mode and credits are shown at the top of the chat