Watch: Annotations, Markups & Takeoffs — a short video walkthrough of this topic in the video gallery.
Placing Annotations on Drawings
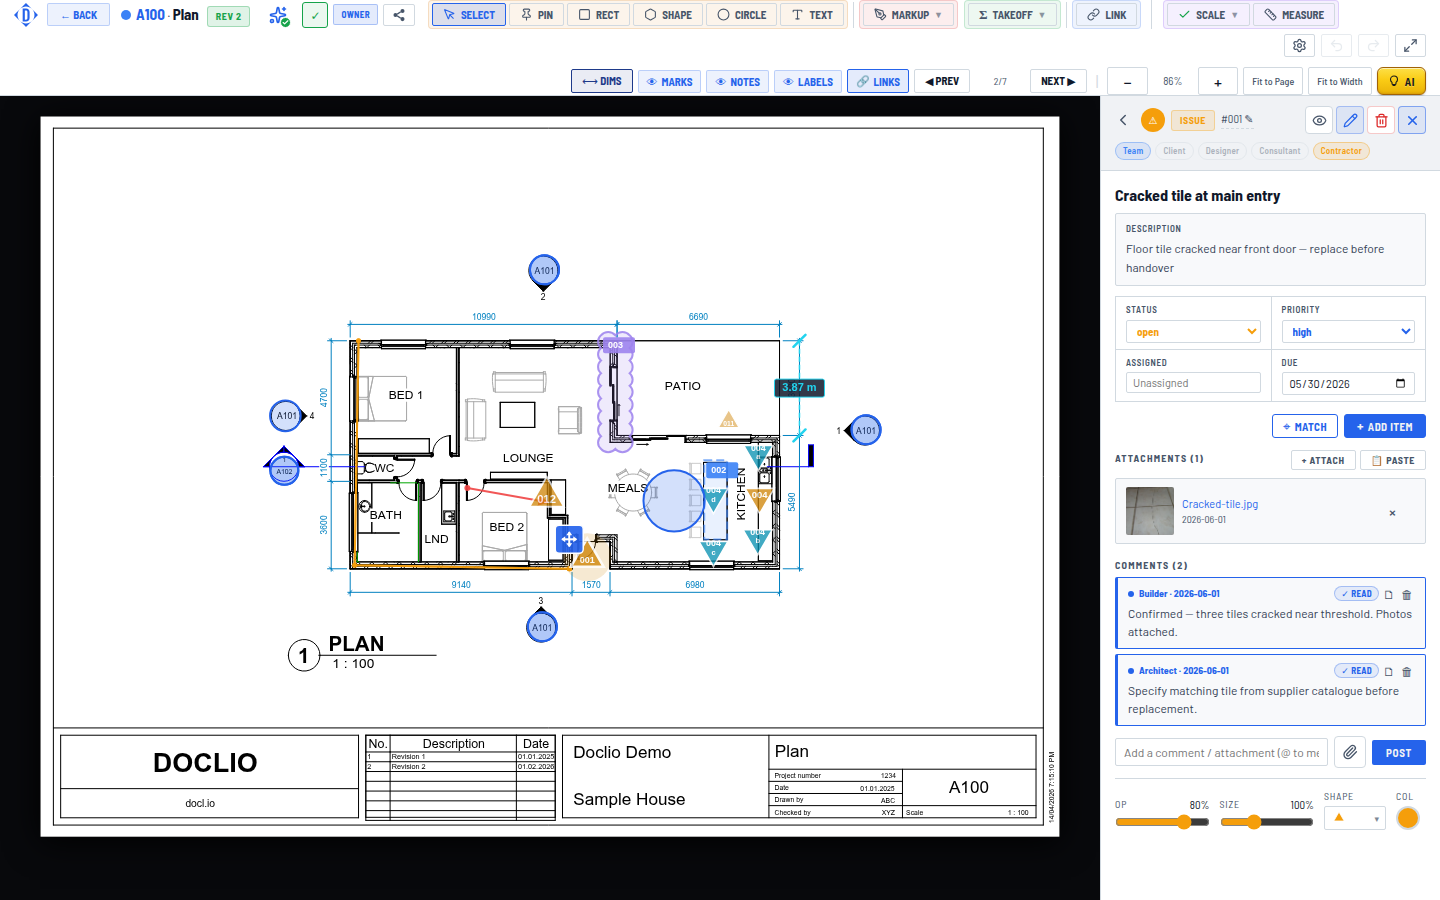
Annotation detail panel with description, status, priority, due date, and attachments
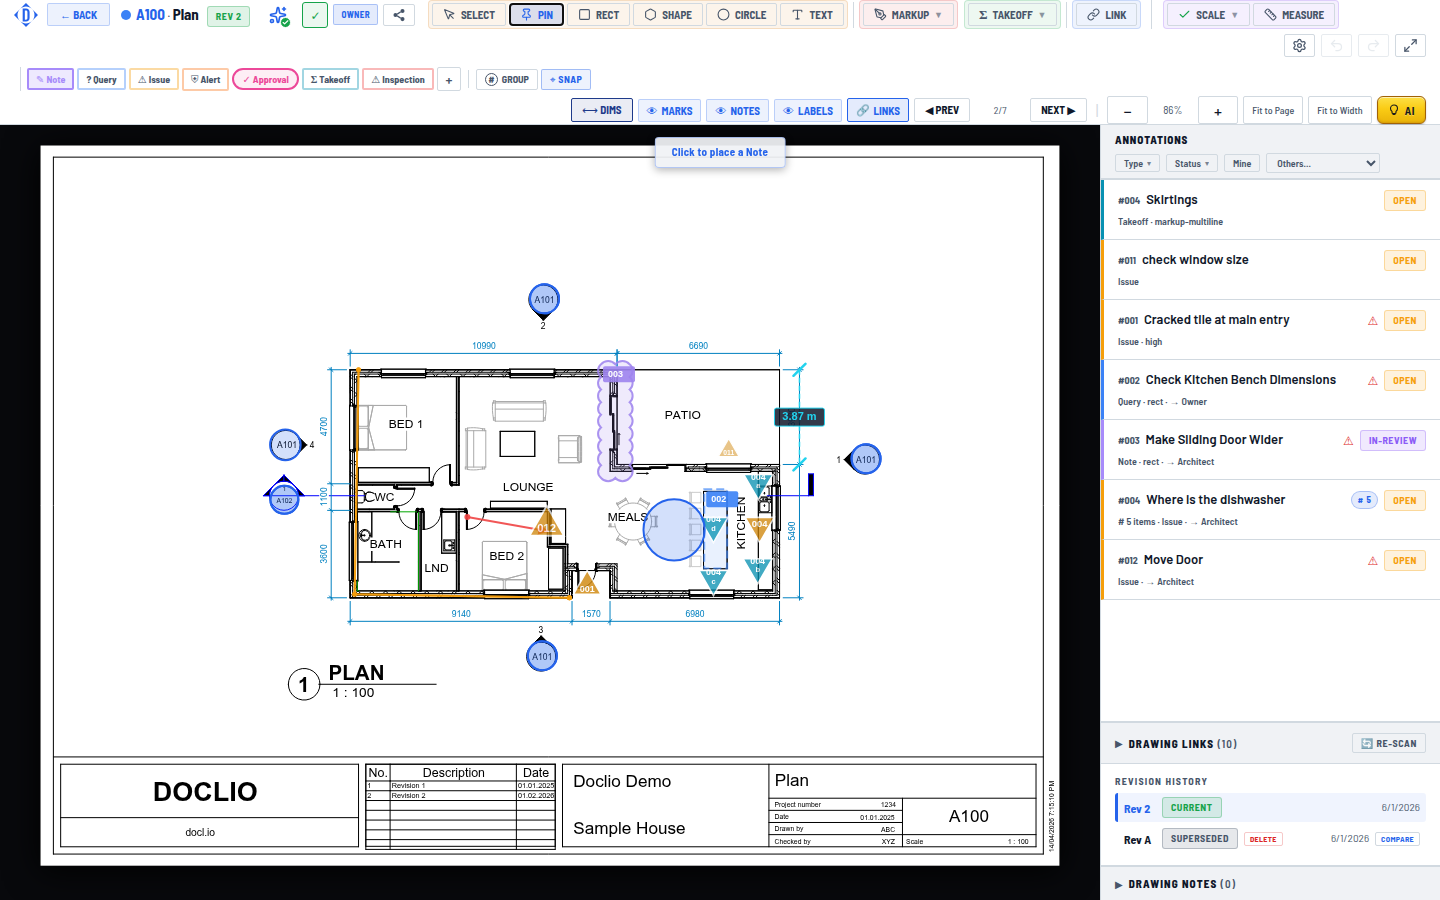
Annotations are location-specific markers placed directly on your drawings. They can be pins (point markers) or shapes (rectangles, circles, polygons) that highlight an area.
Pin Annotations
- Open a drawing in the viewer
- Click the Pin tool in the toolbar
- Click on the drawing at the exact location
- Fill in the annotation details (title, type, priority, description)
- Click Save
- If you assigned someone, you'll be asked whether to email them about the assignment now or skip the notification
Shape Annotations
Shapes let you highlight an area rather than a single point:
- Rectangle — Click and drag to draw a box
- Circle — Click and drag to draw a circle
- Shape/Polygon — Click to place points, forming a custom shape. Double-click to close the shape.
Required and Optional Fields
| Field | Required | Description |
|---|---|---|
| Title | Yes | Brief description of the issue |
| Type | Yes | Your project's type list — new projects start with Note, Query, Issue, Alert, and Approval, and you can add your own |
| Status | Auto | Defaults to Open |
| Priority | Yes | Critical, High, Medium, or Low — pre-filled with Medium |
| Description | No | Detailed explanation |
| Due Date | No | Deadline for resolution |
| Assigned To | No | Pick a project member from the dropdown or type any email address |
| Visibility | Auto | Visible (default) or Private — see Annotation Visibility |
Tip: Each annotation gets a number that runs per type, per project — the form pre-fills the next one. You can edit it to any value, including a duplicate, if you need to match an external numbering scheme. Numbers are handy for referencing in reports and conversations.
Annotation Detail Panel