Last updated: May 2026
There's no charge for teammates and no seat limit on any plan, so invite everyone who needs access. There are two places to invite people into a project.
Option A — Project Settings → People & Sharing
This is the simplest way to bring someone onto a whole project with a named role.
- Open the project and click ⚙ Project (in the project bar — this button only shows for the project owner) or the ⚙ on the project card, then the People & Sharing tab.
- Add the person's name and email, pick a role (Team, Client, Designer, Consultant, Contractor — or any role you've added), and set their capability (View / Comment / Contribute / Edit).
- They receive an invitation. Their name shows in the people list straight away, so you can see who's on the project before they accept.
The permission matrix on this tab shows exactly what each capability allows.
Option B — the Share dialog
Use the ↗ Share button on a project or drawing when you want to share a narrower scope — a single drawing, a group, or a set of tagged drawings — rather than the whole project. Choose the scope, capability, role, and an optional expiry, then send the invite. See Share Levels Explained.
Managing invitations
- Pending invitations are listed until accepted; you can resend or revoke them.
- Change someone's capability or role at any time, or remove their access entirely.
Remember: organisation membership ≠ project access
Adding someone to your organisation does not give them access to your projects — you must share each project (or your whole workspace) with them. See Managing Organisation Members.
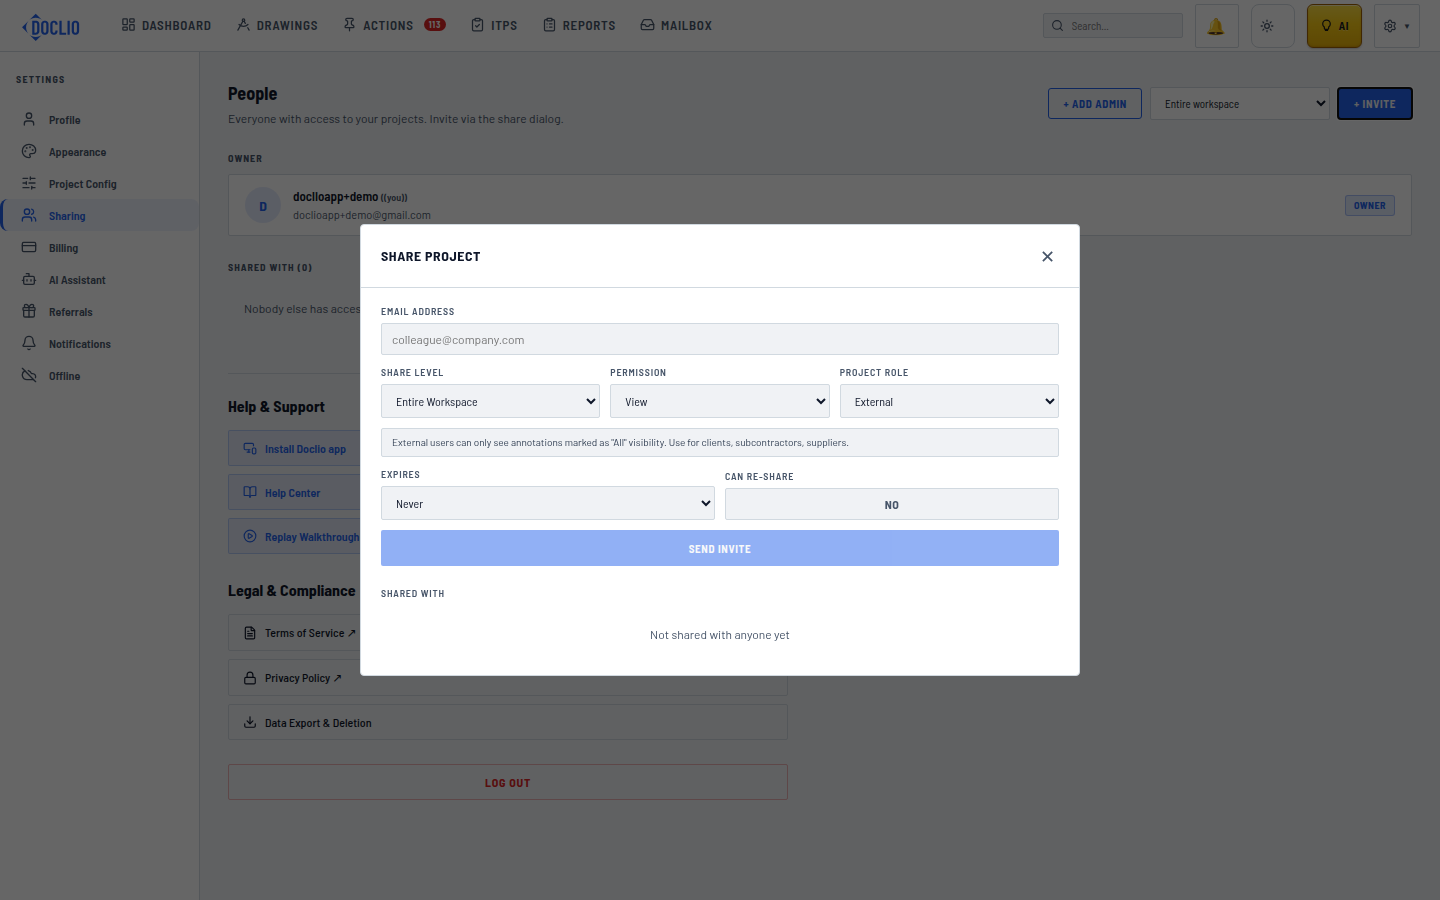
Email, share level, permission, project role, and expiry
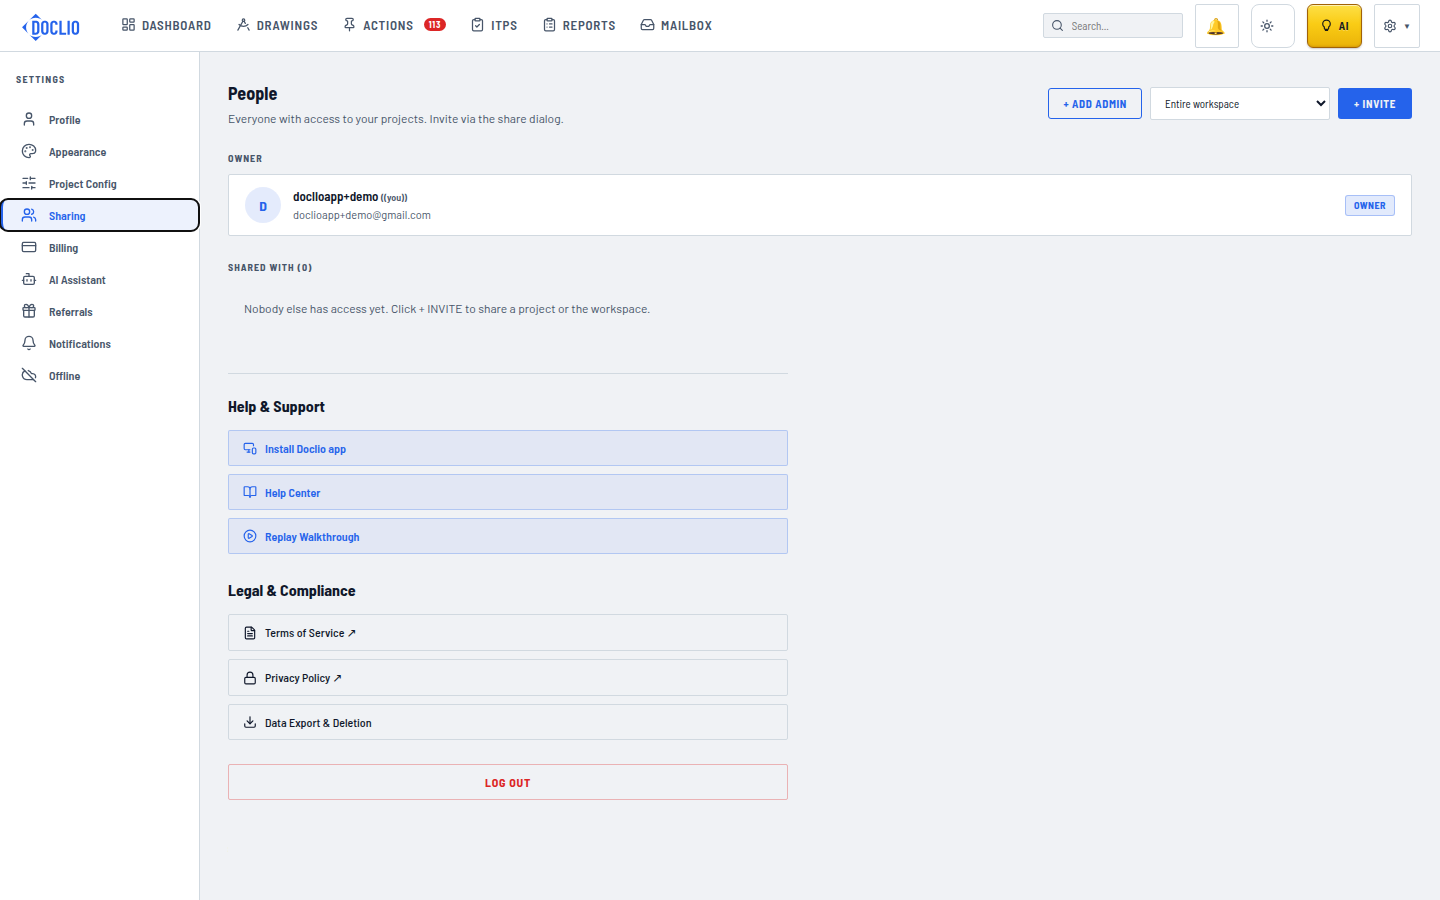
Everyone with access, plus + Invite to add someone new