Watch: Creating Projects and Adding Drawings — a short video walkthrough of this topic in the video gallery.
Create a New Project
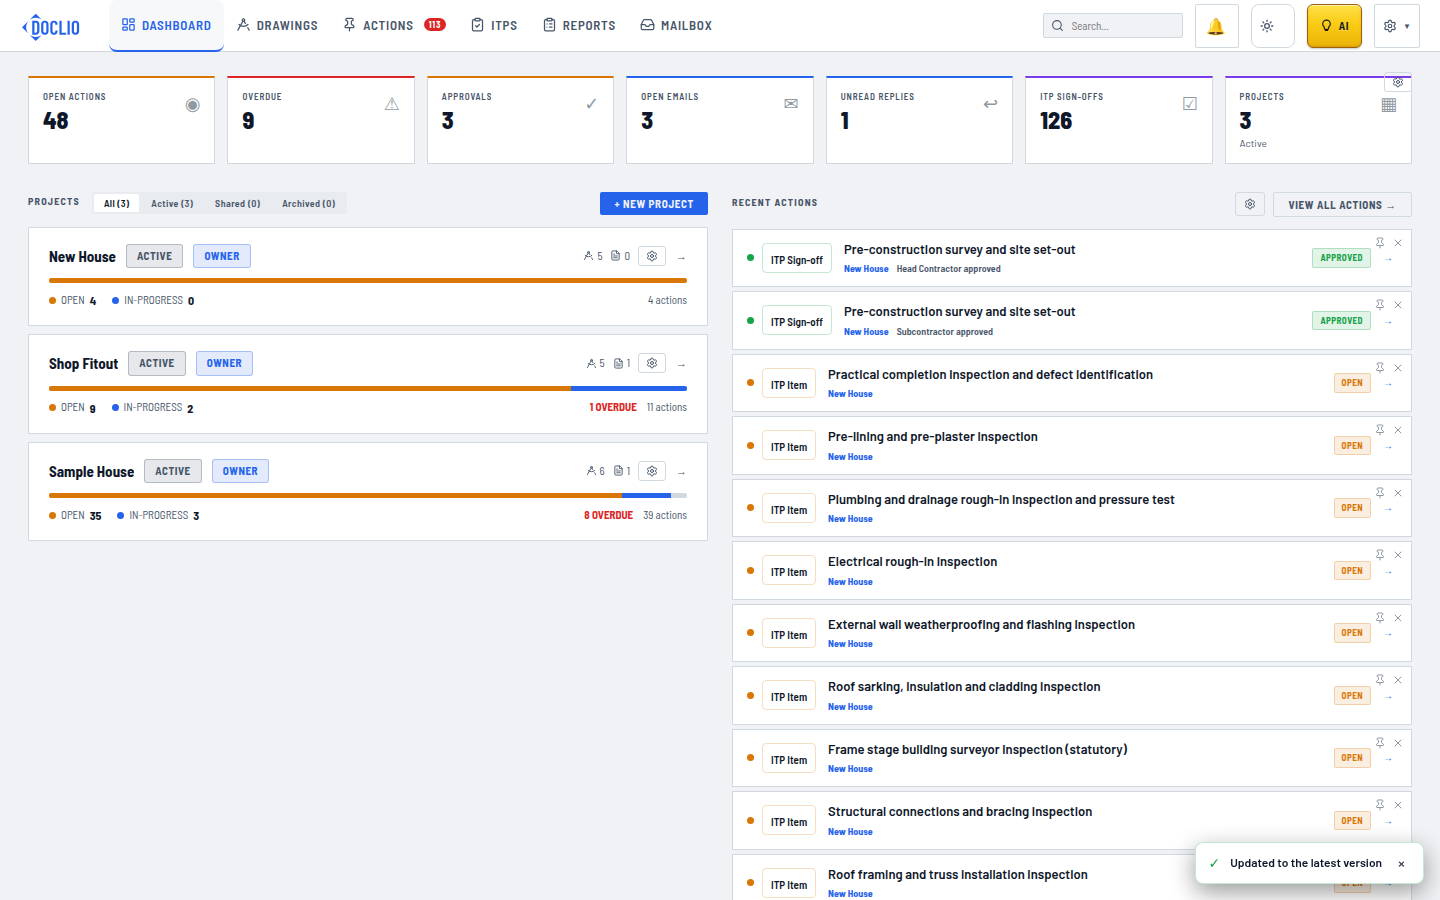
Dashboard with the + New Project button to create your first project
Each project holds one job — a site, building, or development — with its own drawing set, actions, and reports.
Creating a Project
- From the Dashboard, click the + New Project button
- Enter a Project Name (e.g., "123 Smith Street — Commercial Fitout")
- Optionally add an Address and Description
- Tick the drawing groups (disciplines) to set up — Architectural, Structural, Mechanical, and Electrical are pre-selected from a list of eight, and you can add your own
- Click Create Project
Adding a Demo Project
If you're new to Doclio and want to explore the features, click or add demo project on the Dashboard. This creates a project pre-loaded with:
- A handful of sample drawings and documents across several disciplines
- Sample annotations with comments and attachments
- A sample report
Tip: The demo project is a great way to learn the workflow before uploading your own drawings. You can delete it anytime.
Project Settings
There are two places that control a project:
- Project Settings (the ⚙ on the project card, or ⚙ Project in the project bar) — edit the name, address, status, and description; archive or delete the project; and manage who has access on the People & Sharing tab. See Project Settings.
- Settings → Project Config — configure custom annotation types, statuses, groups, tags, and formal-correspondence details. See Configuring Your Project.
What's Next?
Once your project is created, you can: